Getting Started with kuai.io
A comprehensive guide to setting up your first appointment booking system with kuai.io. Learn how to create your account, configure services, and start accepting bookings in minutes.
Welcome to kuai.io! This guide will walk you through the basics of setting up your appointment booking system. Whether you're running a salon, a consulting business, or any service-based operation, kuai.io makes it easy to manage appointments and clients.
Step 1: Create Your Account
Start by signing up at https://kuai.io/signup. You'll need to provide some basic information about yourself and your business. Once your account is created, you'll be taken to the dashboard.
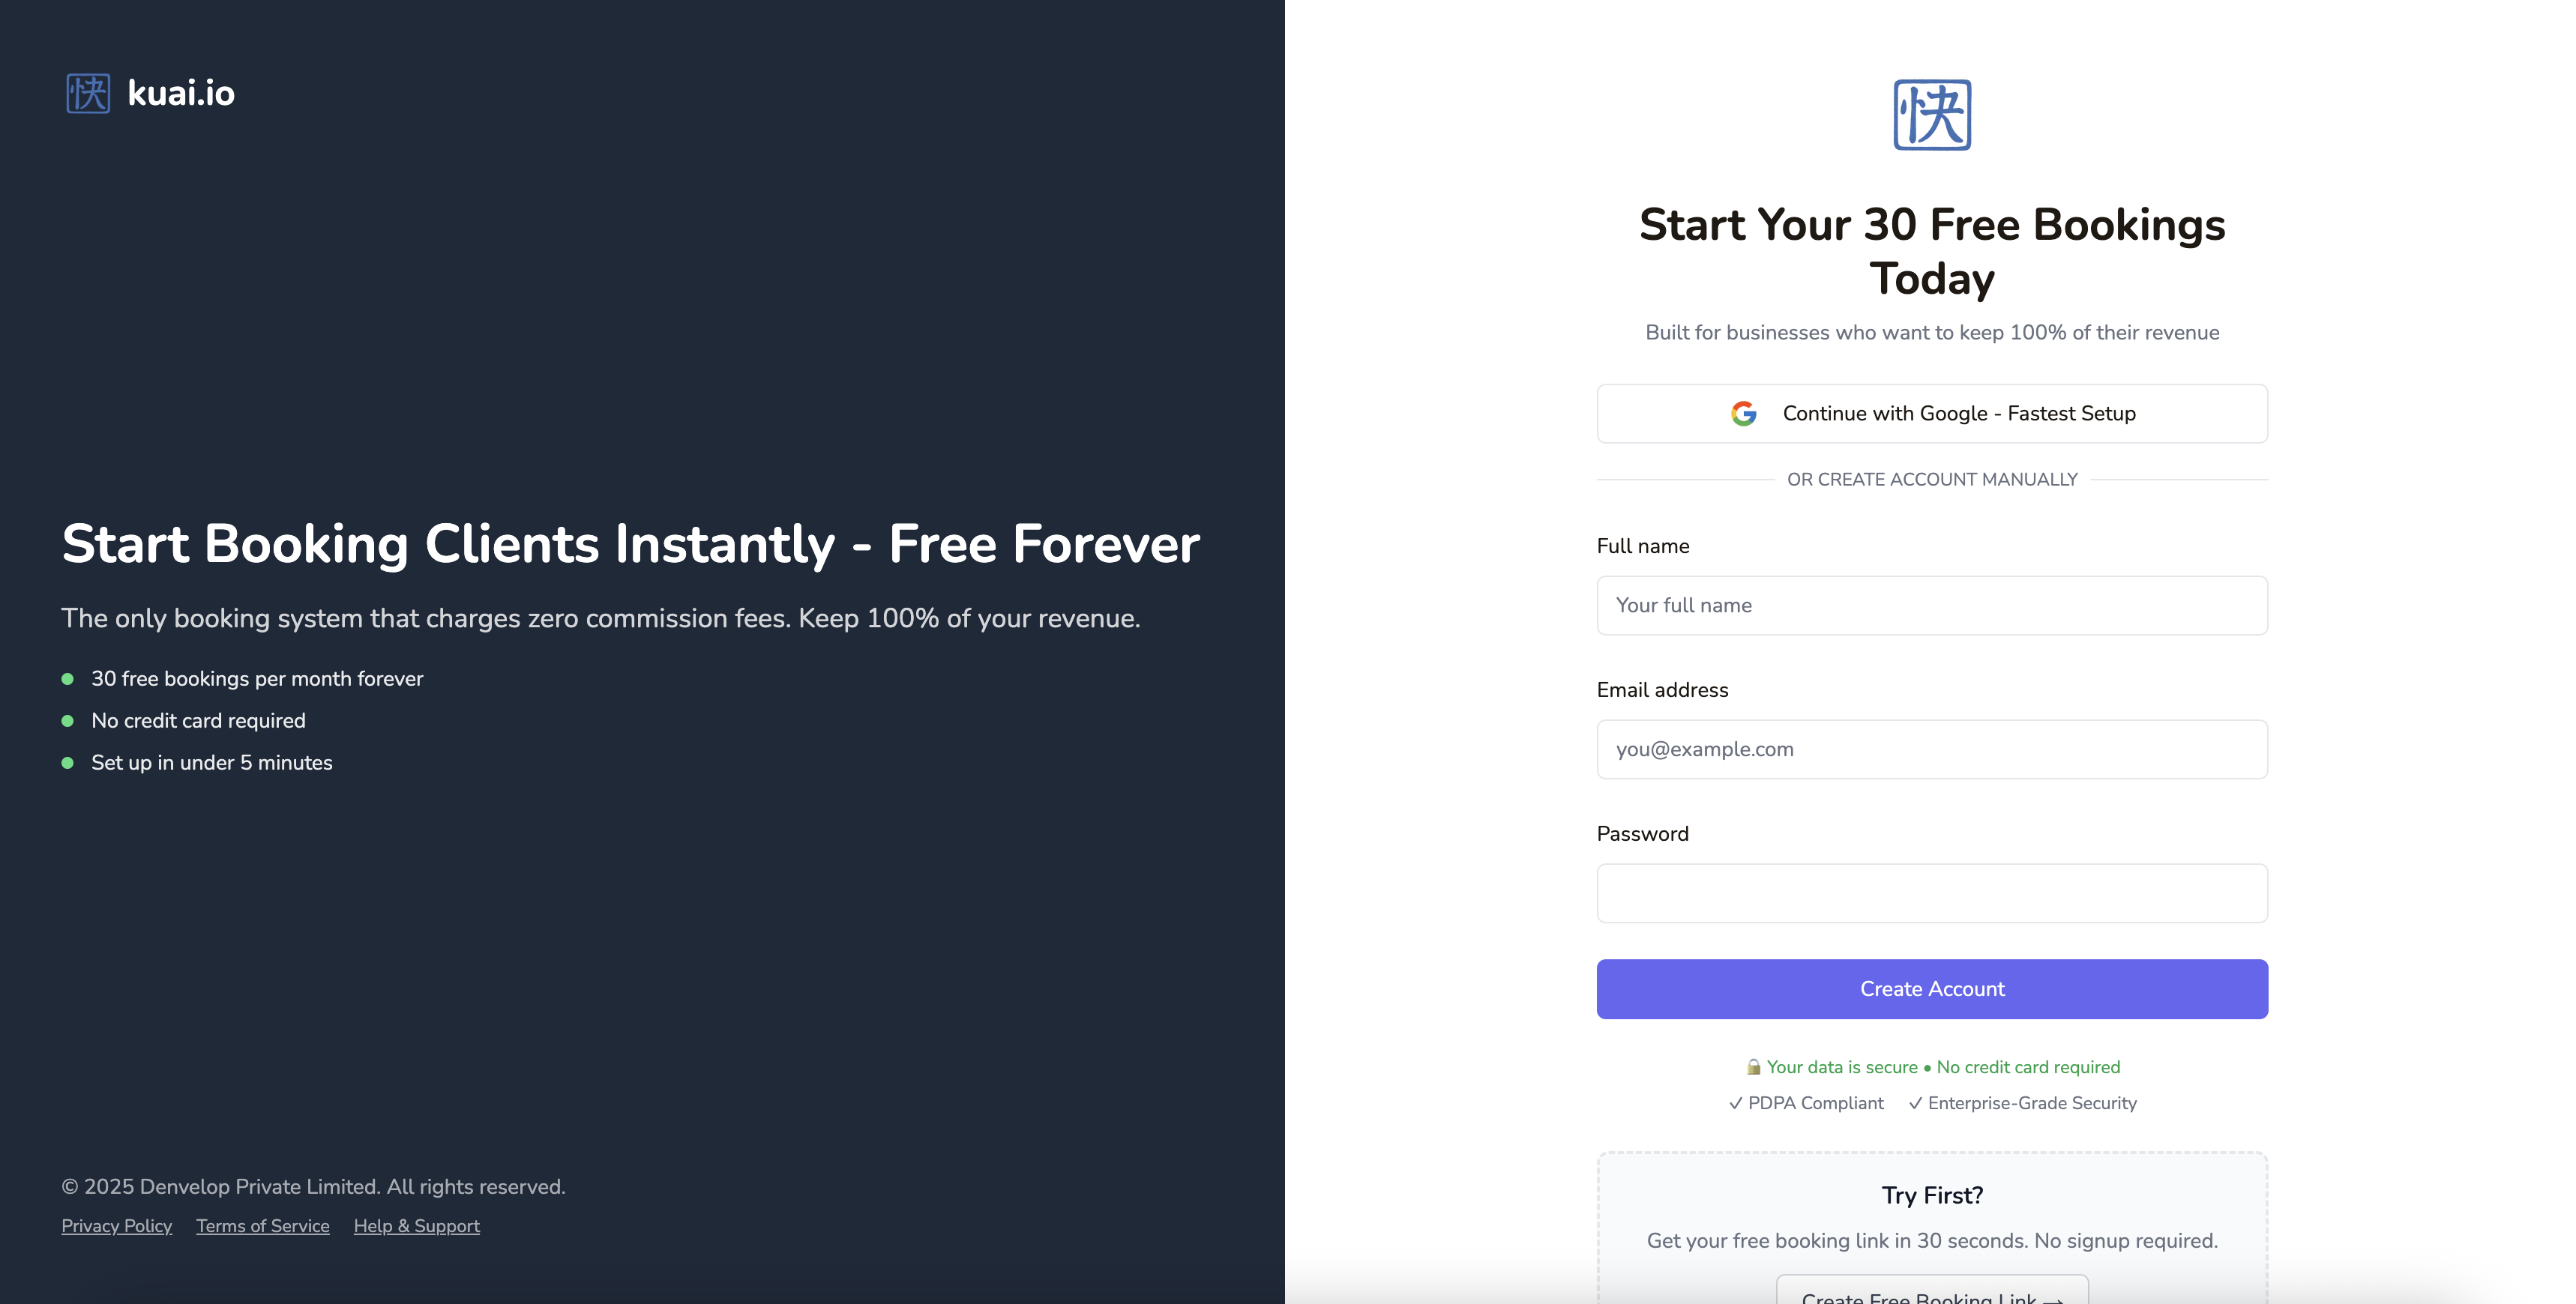 Sign-up, no card required
Step 2: Add Your Company
Chances are, you created a free appointment link from kuai.io homepage. If that's the case, great! You should see a company with the information you provided upon that link's creation.
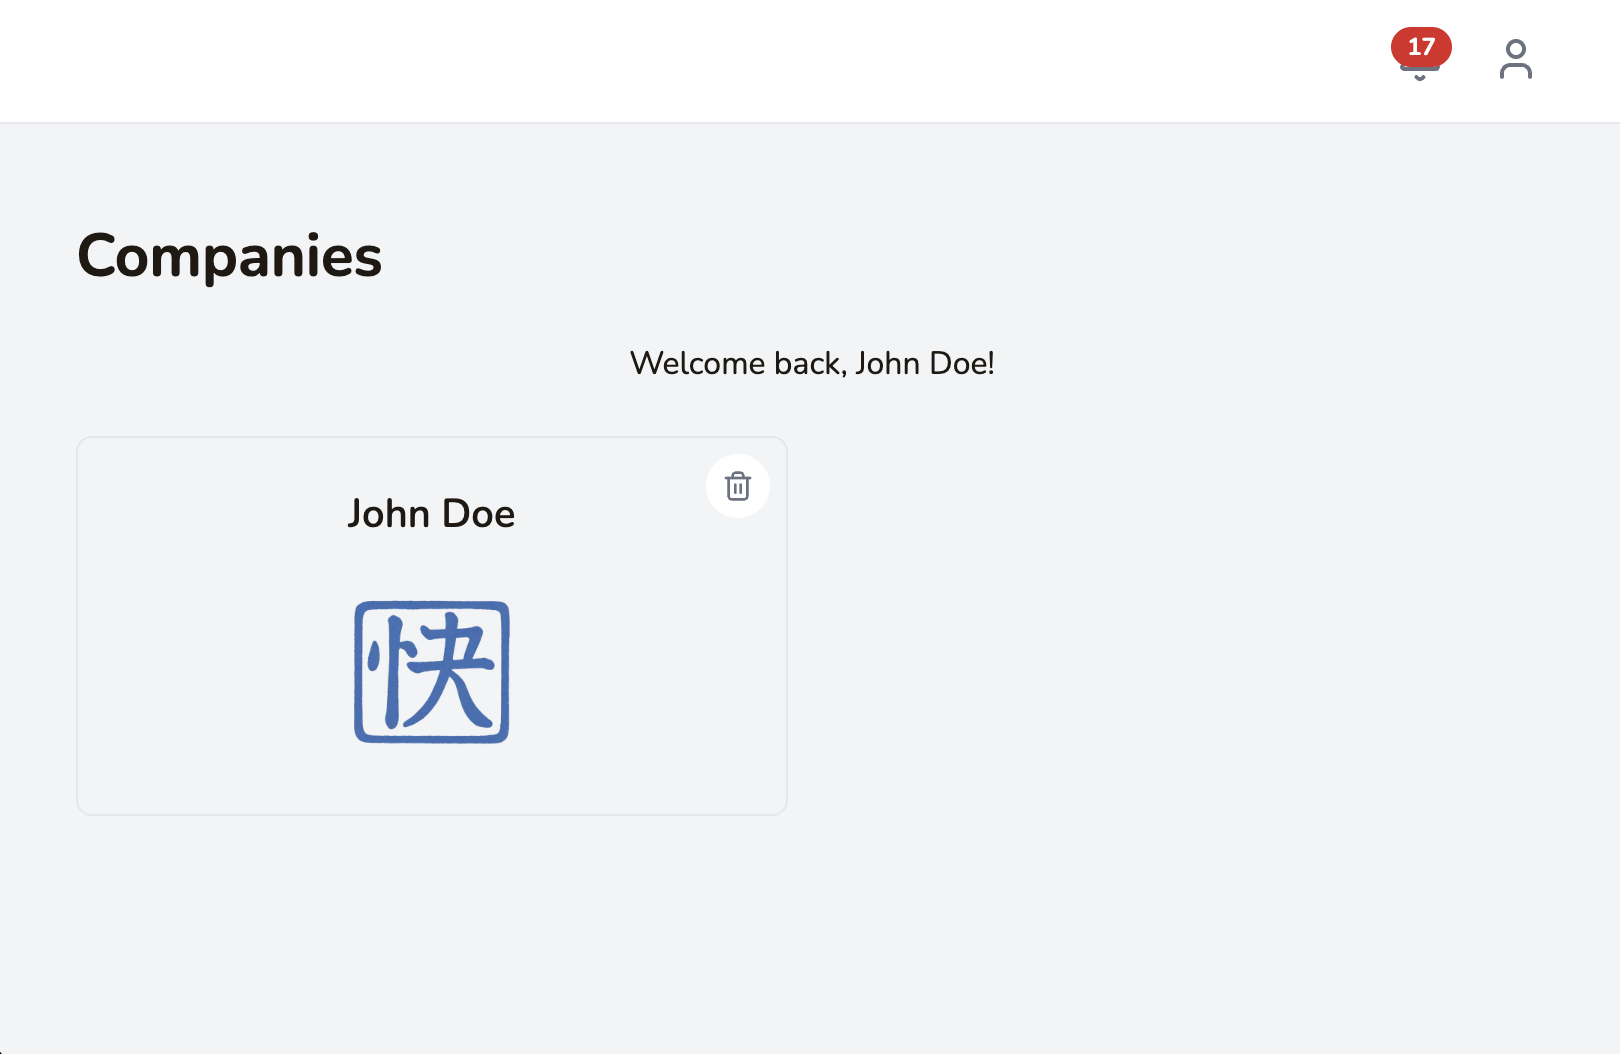 Manage your company (multiple companies with Enterprise plan)
Otherwise, you'll be taken through the onboarding process.
- Personal - For busy individuals. Least setup steps. (Note: Free Link users start with this profile)
- Business - For businesses. Choose this if you need locations, staff & services setup. You start with "Simple" selected by default, select "Advanced" if you want to unlock all features including Payments (with Stripe).
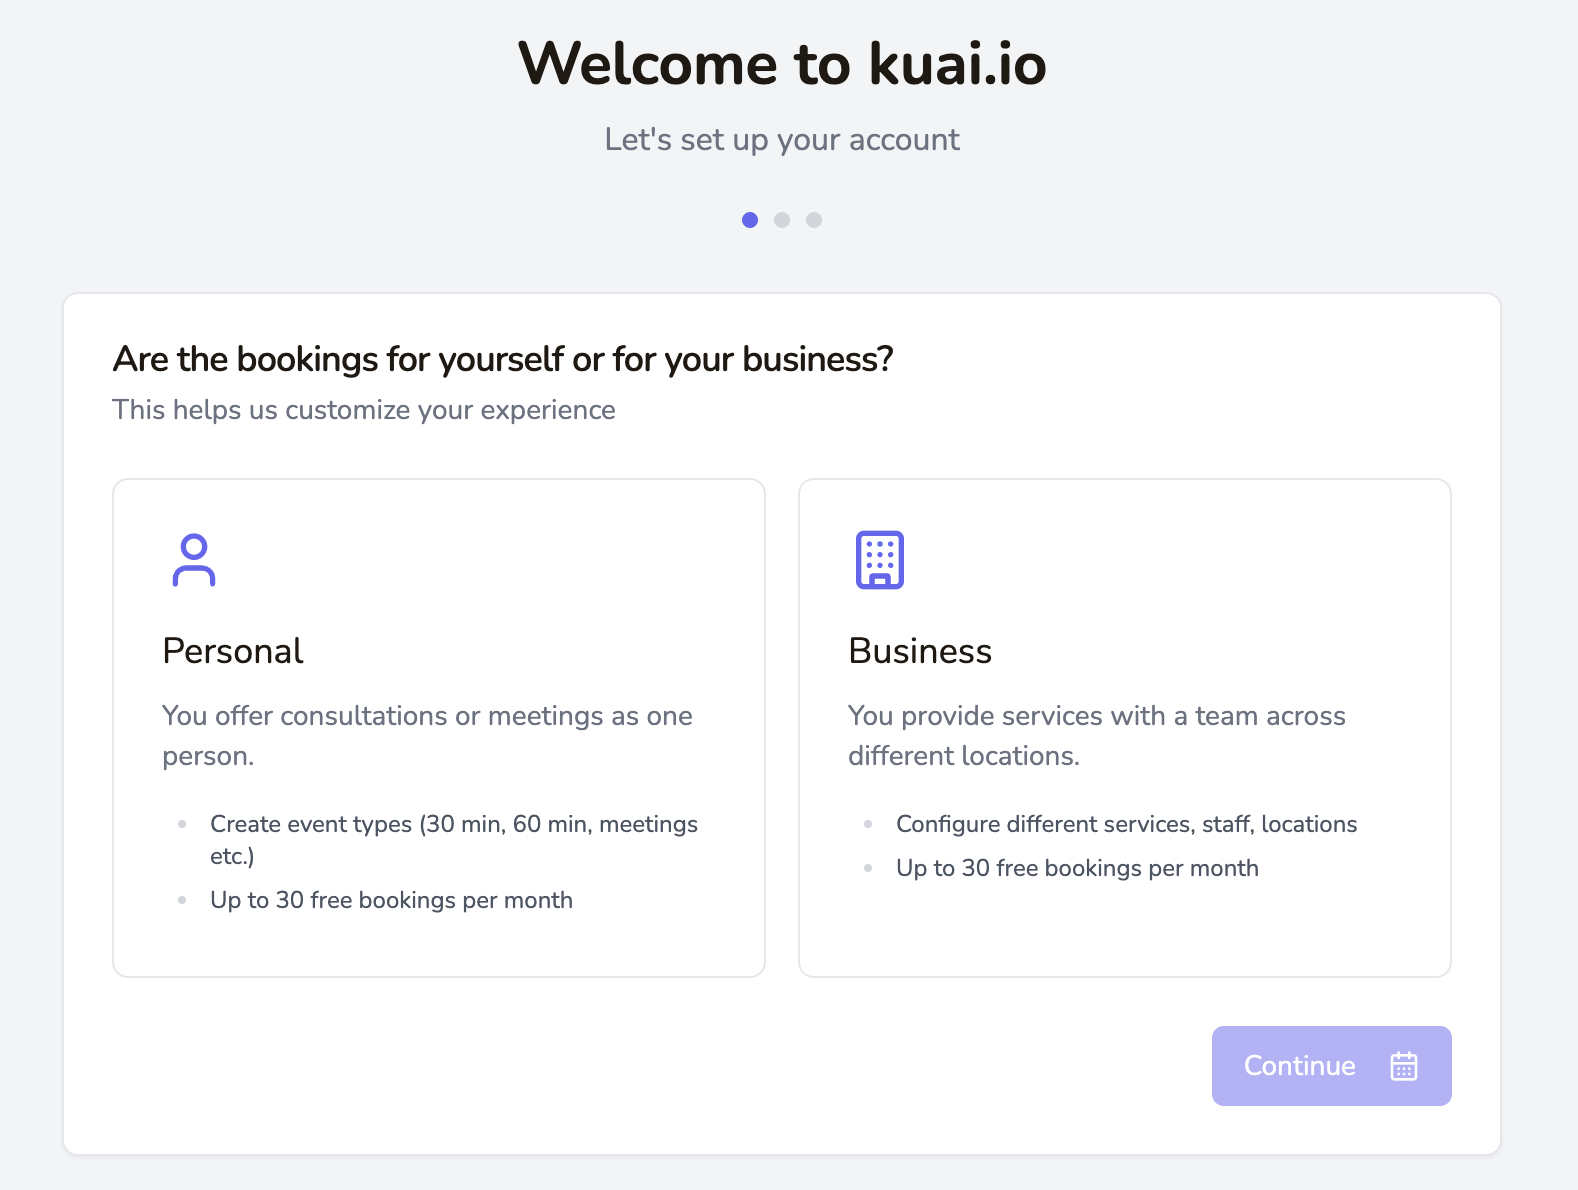 Select the best option for your setup
Step 3: Set Up Your Location
Define the services you offer, including duration, price, and description. This information will be displayed to clients when they book appointments.
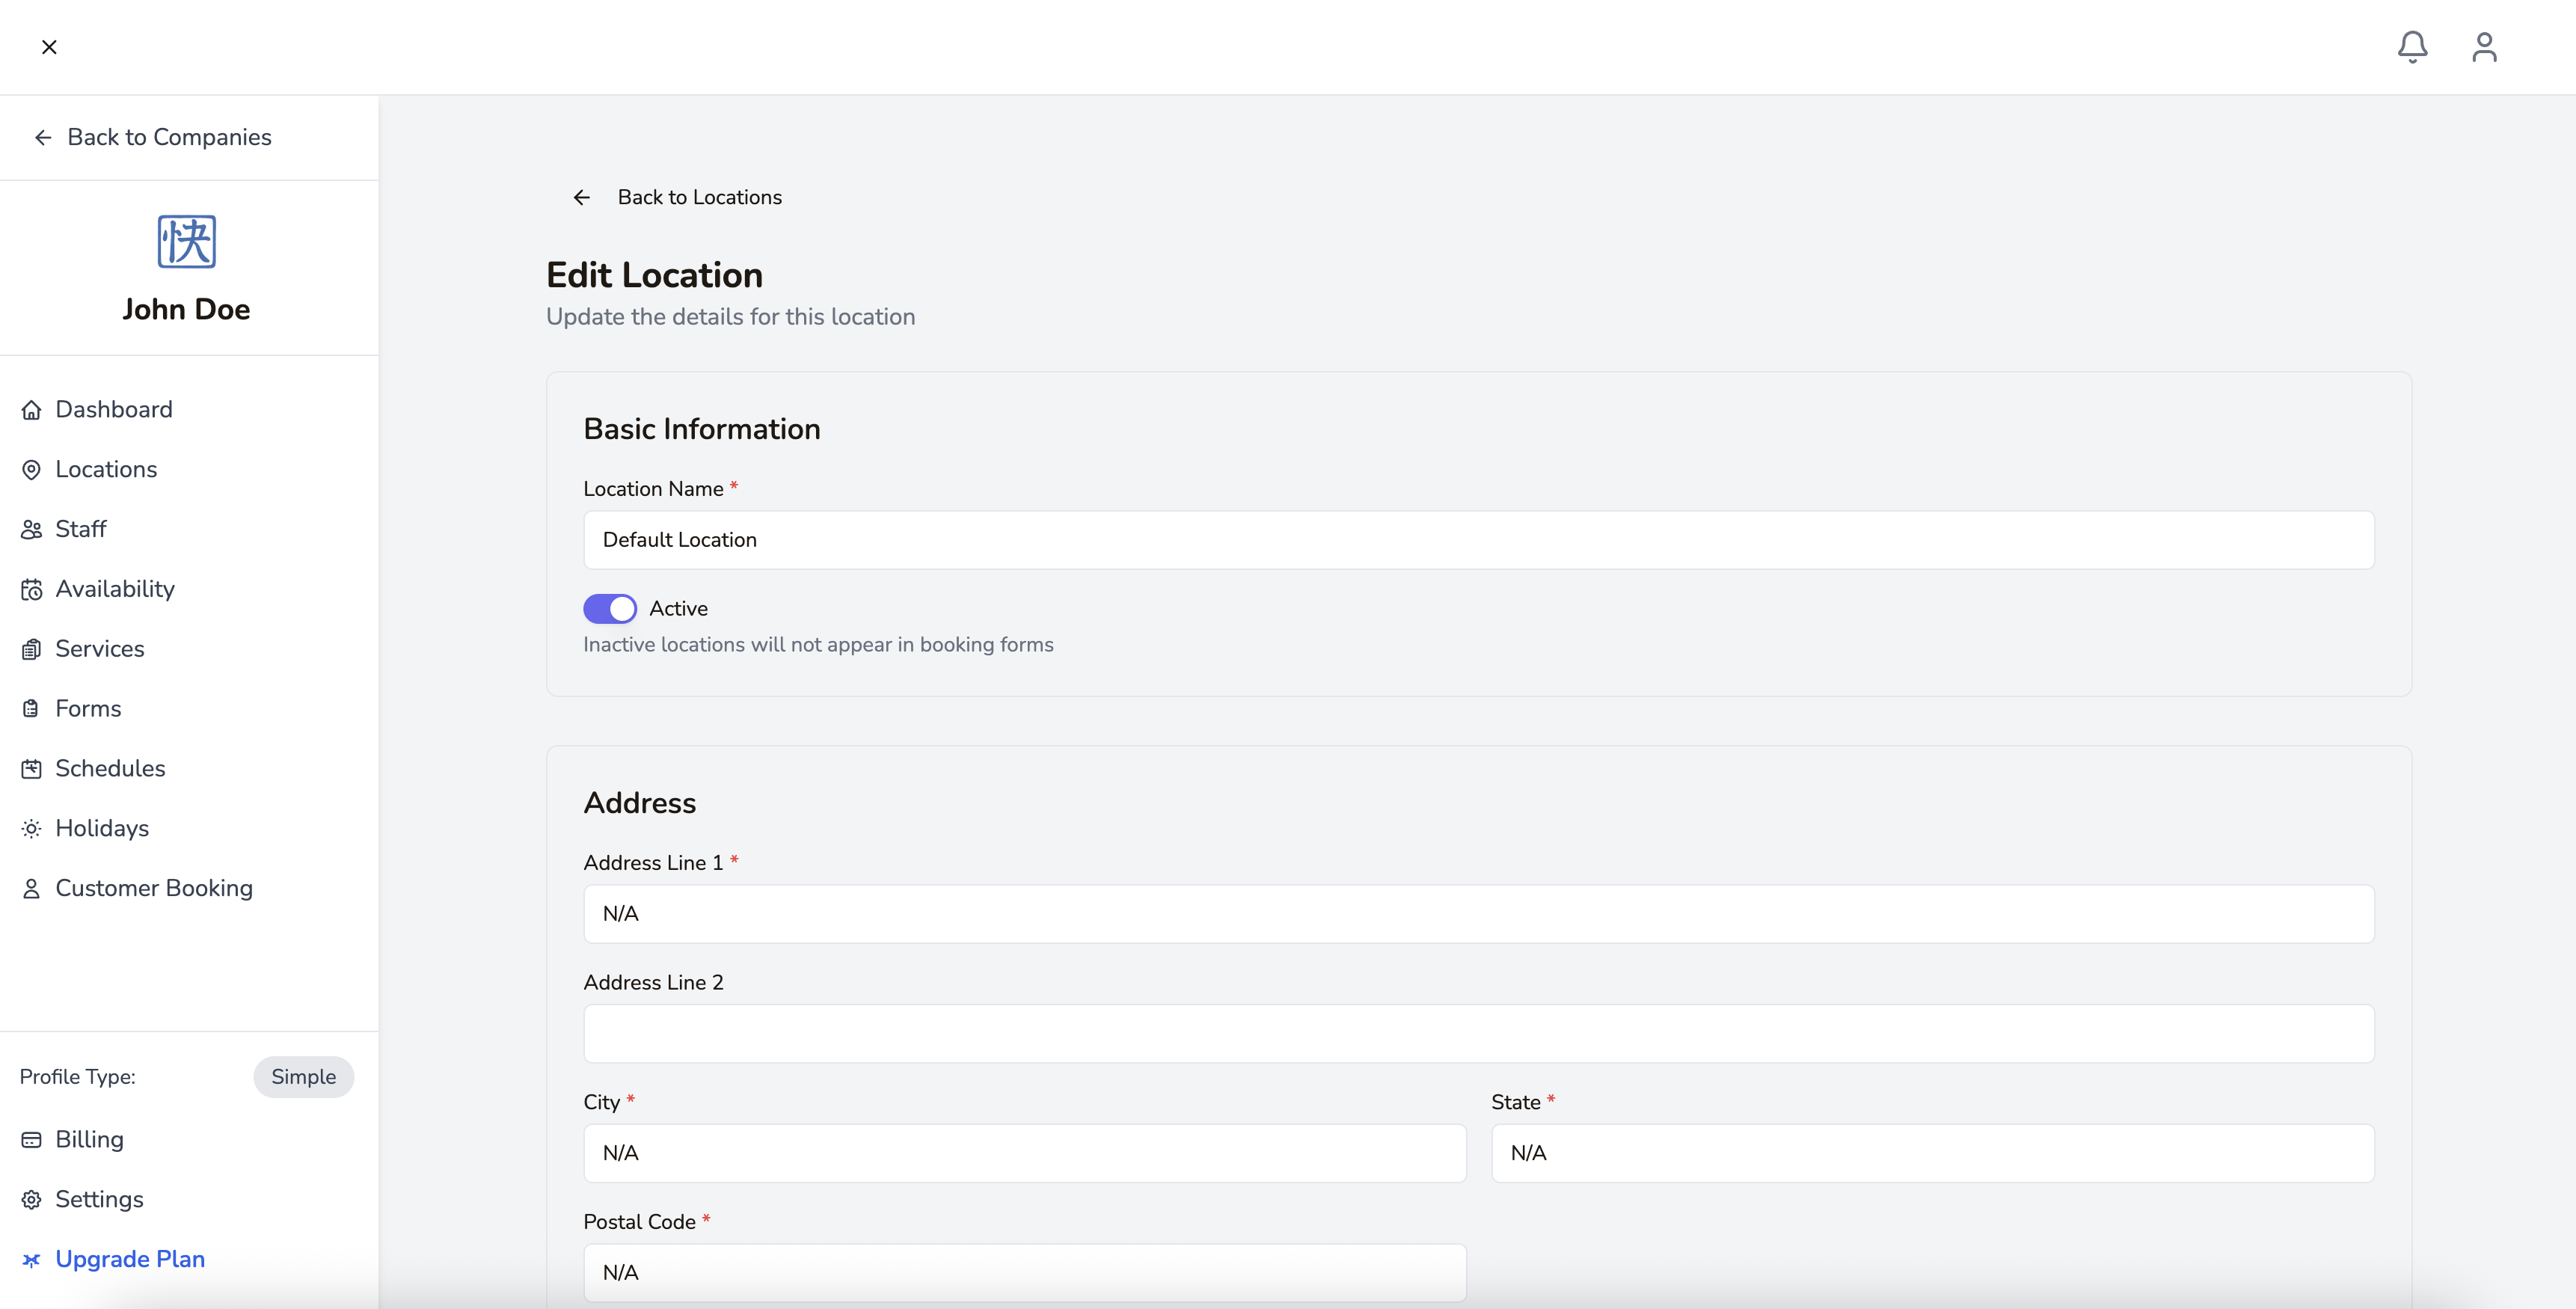 Setup your address, opening times, and storefront image
Step 4: Add Staff Members
If you have multiple staff members who provide services, add them to your account and specify which services each can perform.
Step 5: Configure Working Hours
Set your business hours to ensure clients can only book during times you're available. You can set different hours for different days of the week.
Step 6: Start Accepting Bookings
Once everything is set up, you can start accepting bookings through your personalized booking link or embed the booking widget on your website.
Stay tuned for more advanced tutorials on optimizing your booking process and growing your business with kuai.io!